| Code | Description |
FF,
00 - 19
D0 - D3 | Please check if the CPU is installed correctly and then clear the CMOS. |
31 - 3B
51 - 55 | Problem related to CPU and memory.
Please clear the CMOS. Re-install the CPU and memory. |
| D4 - D5 | PCI resource allocation error. Out of Resources. |
D6
92 - 97 | The graphics card or iGPU could not be recognized. Please clear CMOS and try re-installing the graphics card. If the problem still exists, please try installing the graphics card in other slots or try other graphics cards. |
| D7 | The keyboard and mouse could not be recognized. Please try re-installing the keyboard and mouse. |
| D8 | Invalid password |
| 9A - 9D | Problem related to USB devices. Please try removing all USB devices. |
| E8 - EB | S3 Resume failed (S3=Sleep) |
| 03 | System is entering S3 state (S3=Sleep) |
| 04 | System is entering S4 state (S4=Hibernate) |
| 05 | System is entering S5 state (S5=Soft power off) |
| 30 | System is waking up from S3 state (S3=Sleep) |
| 40 | System is waking up from S4 state (S4=Hibernate) |
| AA | System is entering OS |
 Menu
Menu


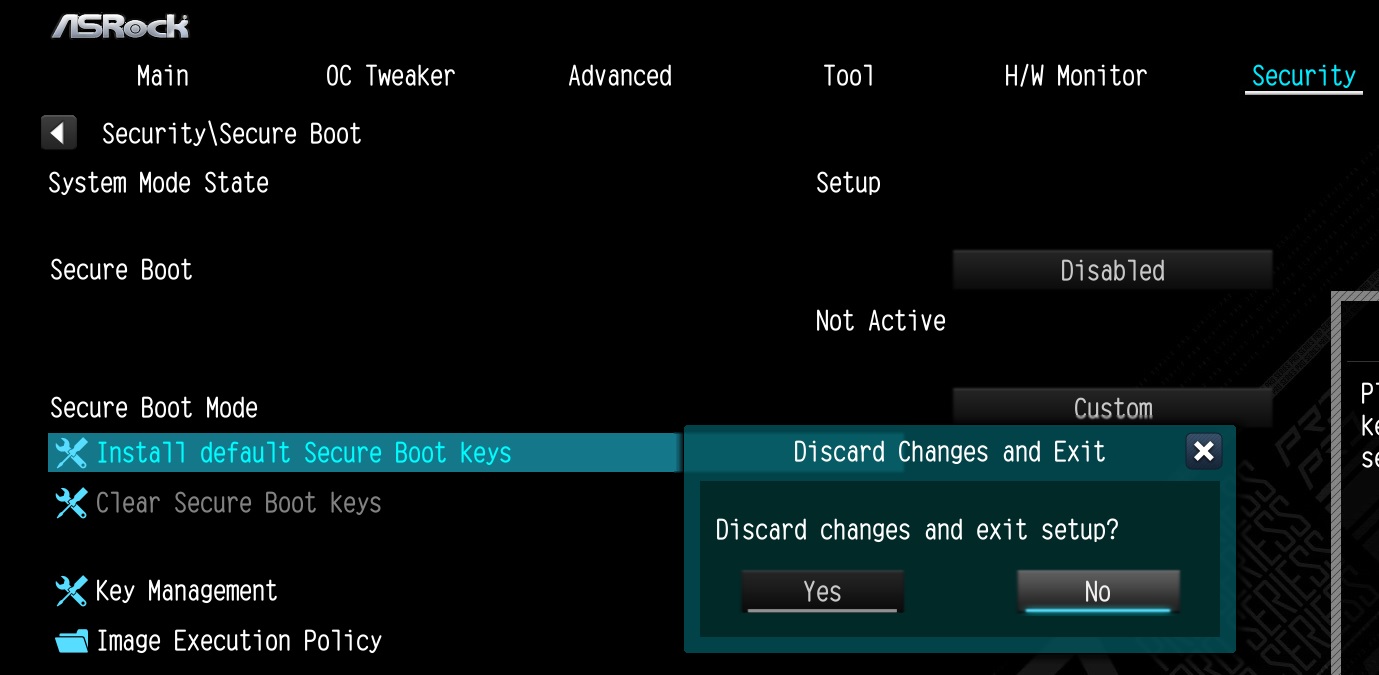
![Select Clear Secure Boot Keys, then choose [Yes].](/support/faq/190-2.jpg)

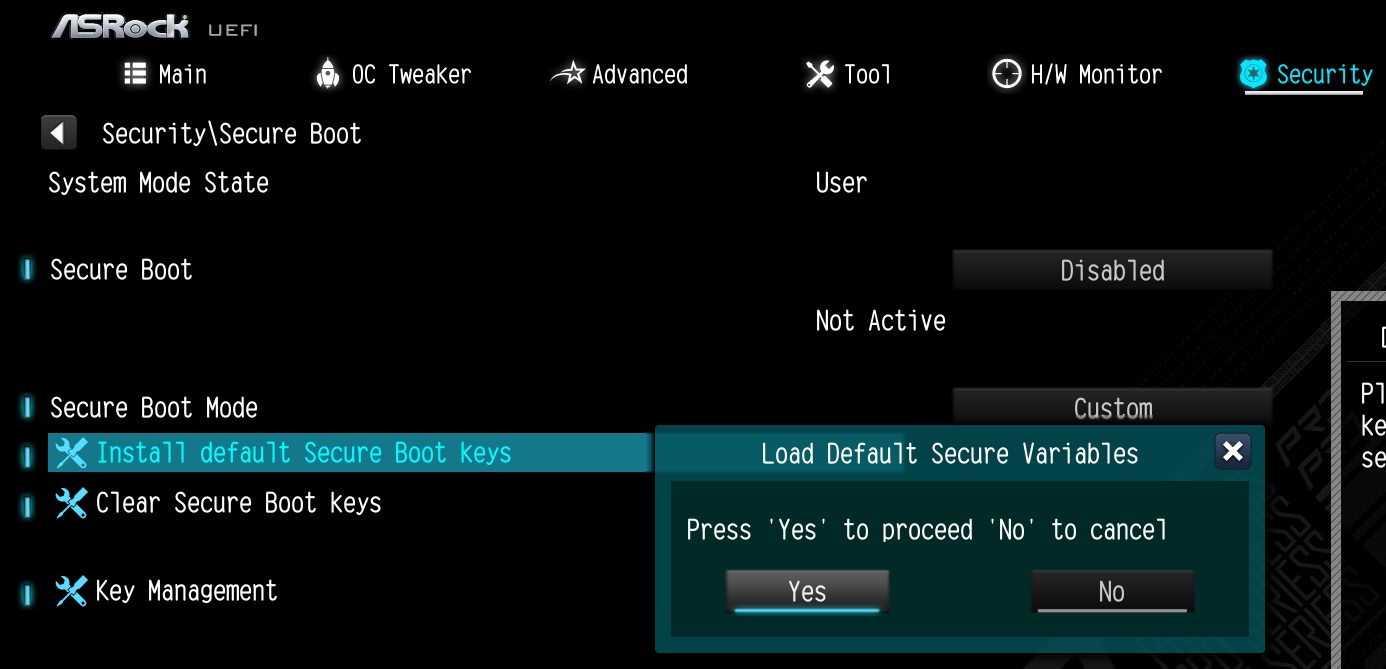
![After clearing the keys, select Install Default Secure Boot Keys, then choose [Yes].](/support/faq/190-4.jpg)